 how-to
How to Install Roll Up Doors: Step-by-Step Guide
Table of Contents
- Before You Install Roll Up Doors: What to Confirm First
- How to Measure for a Roll-Up Door
- Roll-Up Door Headroom and Side Room Requirements
- Roll-Up Door Installation Tools and Hardware Checklist
- Step-by-Step: Installing the Guides, Brackets, and Barrel
- Hanging the Curtain and Setting Spring Tension Safely
- Roll-Up Door Installation Troubleshooting and Final Testing
- When to Hire a Professional and How to Maintain the Door
- Frequently Asked Questions
Last Updated: October 19, 2026
Before You Install Roll Up Doors: What to Confirm First
Most failed installations start with the wrong door, not the wrong tools.
Roll Up Doors Direct builds pre-assembled doors for exactly this reason. Fewer parts on the ground means fewer things to get wrong.
Roll-up door installation means mounting guides, brackets, and a barrel, then hanging a coiled curtain and setting spring tension. It is not complicated, but it is unforgiving of measurement errors.
Matching the Door Type to the Opening
A roll-up door is a curtain of interlocking slats that coils around a barrel above the opening. That coil is why headroom matters more than you think.
Three common types:
- Standard lift roll-up: coils above the opening, needs real headroom
- Low-clearance roll-up: coils tighter, fits shallow spaces
- Sheet door: lighter curtain, common on sheds and storage units
Check the manufacturer manual for your model's coil diameter. That number decides whether your opening works at all.
How to Measure for a Roll-Up Door
Measuring for a roll-up door means recording three numbers: opening width, opening height, and rough opening. Get these right and the rest goes smoothly:
- Opening width: measure between the jambs at the top, middle, and bottom. Use the smallest number.
- Opening height: measure from the floor to the header at both sides. Use the smallest number.
- Rough opening: measure the full framed gap, jamb to jamb and floor to header.
- Side room: measure from each jamb outward to the nearest obstruction.
- Headroom: measure from the header up to the lowest ceiling or obstruction.
Write everything down. Do not trust memory.
Recording Opening Width, Height, and Rough Opening
Out-of-square openings are normal in older buildings. Measure at three points on every dimension and record the smallest figure.
A simple record sheet works:
| Measurement | Where to Take It | What to Record |
|---|---|---|
| Opening width | Top, middle, bottom | Smallest figure |
| Opening height | Left side, right side | Smallest figure |
| Rough opening | Full framed gap | Actual figure |
| Side room | Each jamb outward | Smallest figure |
| Headroom | Header to ceiling | Smallest figure |
Bring that sheet to your supplier. Custom sizing beats forcing a standard door into an opening that fights back.
Roll-Up Door Headroom and Side Room Requirements
Headroom is the vertical space above the opening. Side room is the horizontal space beside it. Both must clear the door's coil and track hardware.
Typical requirements vary by model:
- Headroom: enough for the barrel plus coil, plus a small working gap
- Side room: enough for the guide width plus mounting flange
- Backroom: clearance behind the opening for the curtain to travel
Check your model's spec sheet for exact figures. Do not guess.
If headroom is tight, a low-clearance model solves it. If side room is tight, you may need a different guide configuration, a quick call to your supplier saves a return shipment.
Roll-Up Door Installation Tools and Hardware Checklist
Roll-up door installation tools are basic, but door type and jamb material change the hardware you need. A sheet door on a wood shed frame and a wind-rated commercial door on a concrete jamb do not share a fastener plan. Confirm every item against your model's manual first.
Tools you will use on almost every job:
- Cordless drill with driver bits and a magnetic bit holder
- Tape measure and a pencil you can actually see on metal
- 4-foot level (a 2-foot level is too short to catch guide twist)
Specialty tools some models require:
- Winding bars sized to your spring assembly (never substitute screwdrivers or pliers)
- A dead-blow mallet for seating the barrel in its brackets
- A laser level if you are setting guides on a long commercial opening
Hardware to lay out and count before installation:
- Guides or tracks, left and right
- Mounting brackets and header brackets
- Fasteners rated for your jamb material (see below)
If your manual lists a specific fastener type or spacing, that spec overrides general guidance. Undersized anchors are the most common cause of a guide pulling loose under load.
Door-type differences that change the list:
- Sheet doors often use lighter guides and fewer brackets, and may ship with self-tapping screws for light-gauge framing.
- Standard-lift commercial doors add heavier brackets, larger barrel hardware, and sometimes a chain hoist with its own mounting points.
- Low-clearance doors may use different bracket geometry, so do not assume standard-lift hardware fits.
Step-by-Step: Installing the Guides, Brackets, and Barrel
Installing guides, brackets, and the barrel is the structural core of the job. Get this stage square and plumb, and everything after it is easier.
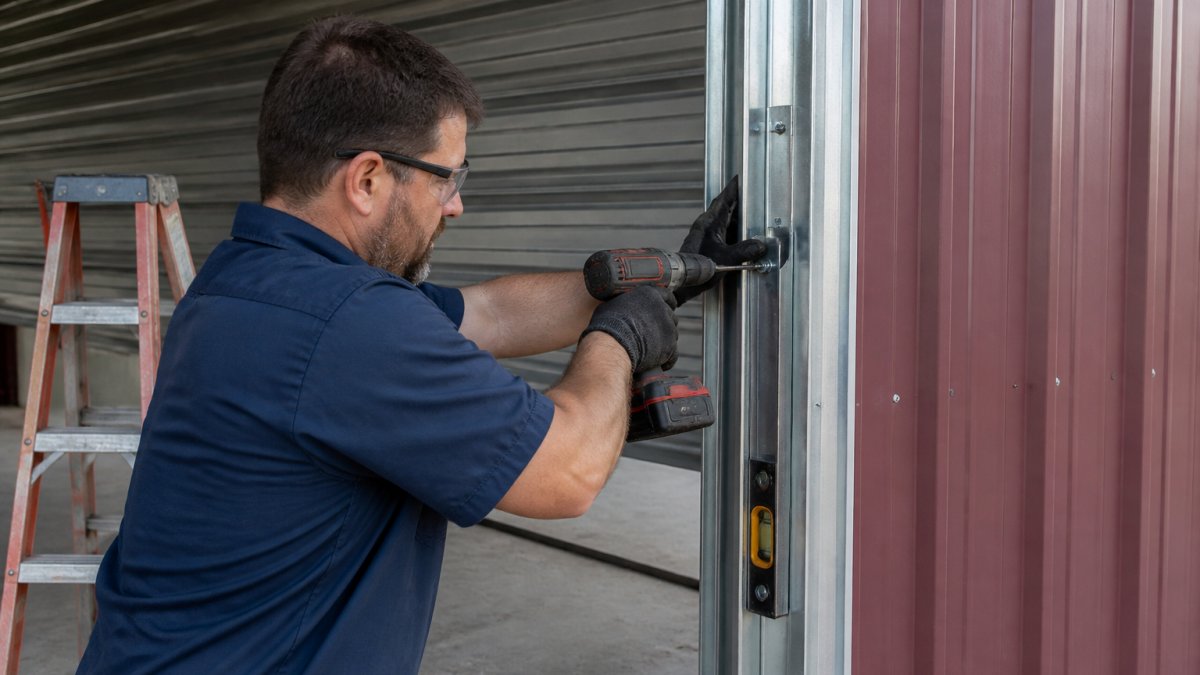
Positioning the Door Guides and Checking Plumb
- Mark the guide height on both jambs using your measurements.
- Set the first guide in place and clamp it.
- Check plumb with a 4-foot level on the face and the side.
- Drill pilot holes, then fasten the guide.
- Repeat on the opposite jamb, checking the gap between guides stays consistent top to bottom.
- Mount the brackets at the header, following the manual's spacing.
- Set the barrel and axle into the brackets and confirm it spins freely.
Expected result: both guides plumb, evenly spaced, and the barrel level across the opening.
Hanging the Curtain and Setting Spring Tension Safely
Spring tension is the most dangerous part of the job. Follow the manual's winding count exactly, do not add "a couple extra turns" because the door feels heavy. Over-wound springs can fail violently.
Basic sequence:
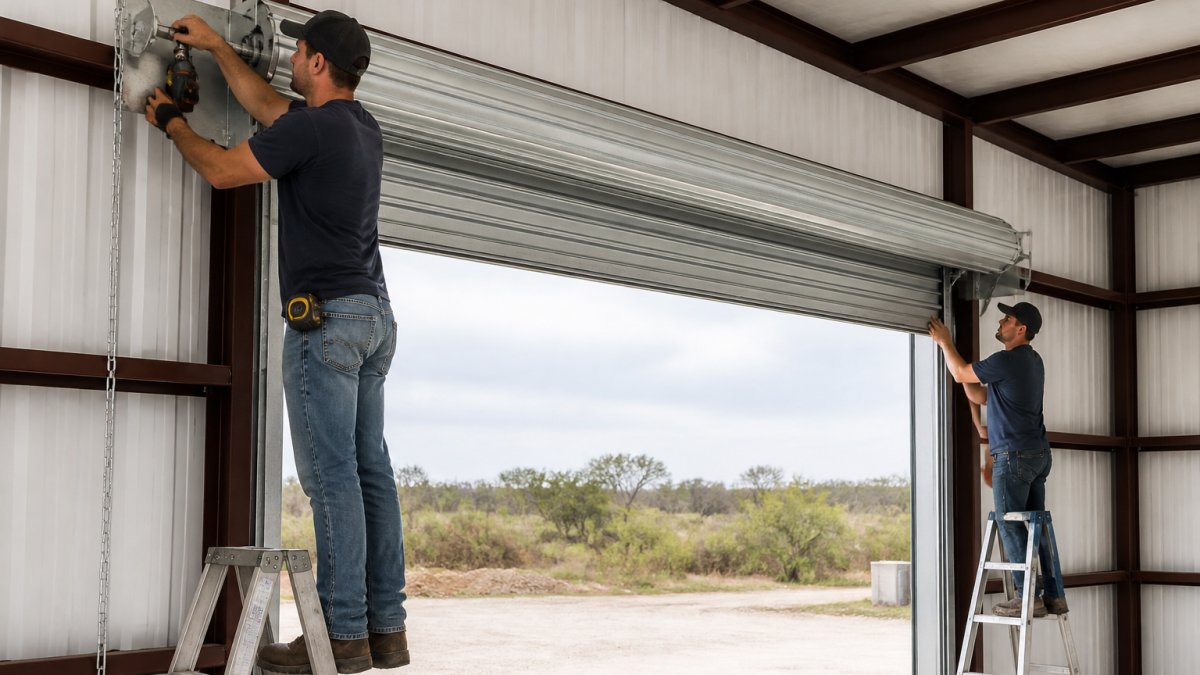
- Lift the curtain into the guides with two people
- Attach the curtain to the barrel per the manual
- Set the bottom bar and seal
Never use screwdrivers or pliers as winding bars, they slip and the spring releases. If you are not confident with a tensioned spring assembly, stop here; this is where a professional is worth the money.
Roll-Up Door Installation Troubleshooting and Final Testing
Roll-up door installation troubleshooting starts with observation and a hard rule: you adjust guides, brackets, and travel limits yourself; you do not adjust spring tension unless trained and equipped with the correct winding bars. Most problems fall into a few patterns.
Run the door and watch where it binds, disconnected from any opener, with no one under the curtain.
| Symptom | Likely Cause | Safe Fix |
|---|---|---|
| Door binds on one side | Guide out of plumb or twisted | Re-check level on the face and side of the guide, loosen fasteners, re-plumb, re-fasten |
| Curtain rubs the header | Insufficient headroom or bracket set too low | Verify model spec against measured headroom; adjust bracket height per manual |
| Curtain jumps the guide | Guides spaced too wide or flanges bent | Reset guide spacing to manual spec; straighten or replace bent guide |
| Noisy travel | Dry barrel, axle, or guide surfaces | Lubricate per manual; check axle level |
| Door will not stay open | Spring tension or balance issue | Stop. Do not add turns yourself. Call a qualified technician |
| Door slams down | Spring tension or balance issue | Stop. Do not reduce turns yourself. Call a qualified technician |
| Door feels heavy but travels evenly | Possible spring or balance issue | Stop. Have a technician verify tension |
| Opener reverses or stops short | Travel limits or force settings | Reset travel limits per opener manual; do not increase force to mask a binding door |
Final testing sequence before you call the job done:
- Run the door through full travel three times and watch the curtain coil evenly on the barrel.
- Check the bottom seal meets the floor across the full width, with no corner gaps.
- Confirm the curtain stays inside both guides through the full travel.
- Check every fastener with a wrench or driver; vibration loosens anything left snug rather than tight.
- If an opener is installed, set travel limits so the door stops just above the floor, and test the safety reverse per the opener manual.
- Operate the door by hand with the opener disconnected to confirm it moves without excessive force.
When to stop and call a professional:
- The door will not stay open or slams down
- You see a broken or frayed cable
- A spring is visibly damaged or the door will not balance after correct installation
A qualified technician has the winding bars, training, and insurance to work on springs, not a cost to avoid.
When to Hire a Professional and How to Maintain the Door
Hire a professional when any of these apply:
- Spring replacement or re-tensioning on a heavy commercial door
- Wind-rated doors where certification matters
- Badly out-of-square openings
Maintenance is simple and cheap:
- Monthly: look at the curtain, guides, and fasteners
- Quarterly: lubricate the barrel, axle, and guide surfaces
- Annually: inspect springs, cables, and bottom bar
For wind-rated doors, check the International Building Code wind load provisions against your local requirements before installation.
The Occupational Safety and Health Administration guidance on powered door safety is worth reading if the door serves a workplace.
Installing a roll-up door yourself is realistic when the opening is measured correctly and the spring work is done to spec.
At Roll Up Doors Direct, we ship pre-assembled doors that cut installation time and take the guesswork out of hardware.
Frequently Asked Questions
How much headroom and side room does a roll-up door need?
Headroom is the vertical space above the opening where the door curtain coils on the barrel, and side room is the horizontal clearance beside the opening for the guides and brackets. Both vary by model, so check the manufacturer's manual for your specific door before framing. Measure from the top of the finished opening to the nearest obstruction, and from each side of the opening to the nearest wall. If your building has low headroom, ask about a low-clearance configuration rather than forcing a standard door into a space that does not fit.
What tools do you need to install a roll-up door?
Most roll-up door installation tools are standard jobsite equipment: a tape measure, 4-foot level, cordless drill with driver bits, socket and wrench set, plumb line or laser level, ladder or lift, gloves, and safety glasses. You will also need the fasteners and mounting hardware specified in the manual, which sometimes differ by mounting surface. Check the door kit and manufacturer manual before you start so you are not making a hardware-store run mid-install. A second set of hands helps when lifting the barrel and curtain into place.
Can one person install a roll-up door?
Small residential and shed doors can sometimes be handled by one experienced person, but commercial doors and anything with a pre-wound spring assembly are safer with two. The curtain and barrel are awkward to lift and align, and spring tension is the most dangerous part of the job. If you are installing multiple doors for a storage facility or warehouse, plan a crew of two to three so guides, brackets, and the barrel can be positioned without improvising. Follow the manual's lifting guidance rather than guessing.
When should you hire a professional to install a roll-up door?
Hire a professional if the door requires field tensioning of a spring you are not trained on, if the opening is out of square or the mounting surface is damaged, if the door must meet a wind-load rating tied to local code, or if the door is large and heavy enough to need a lift. Spring assemblies store energy and can cause serious injury. For straightforward pre-assembled doors on a sound, square opening, a careful DIY installation is realistic, but any doubt about tensioning or structural attachment is a good reason to call a licensed installer.