 how-to
7 Preassembled Roll Up Door Installation Time Factors
Last Updated: October 26, 2026
Quick Summary
A preassembled roll up door arrives with its brackets and tensioner already installed, so installation skips barrel assembly and initial tensioning. A single door on a clean opening is a half-day job for two experienced installers, though site conditions and crew experience can stretch that time.
- Stage all tools before the truck arrives, since a mid-job supply run costs more time than the install itself.
- Measure opening width and height at three points each and use the smallest figure.
- Two experienced installers are the practical minimum because the barrel lift needs a second set of hands.
- First-time installers should expect often double the on-site time due to measuring and correcting alignment.
- Wind and rain stop barrel lifts, so schedule the lift for a window you can control.
Table of Contents
- How Long Preassembled Roll Up Door Installation Time Really Takes
- Roll Up Door Installation Tools and Equipment to Stage First
- Roll Up Door Opening Requirements to Check Before the Truck Arrives
- Roll Up Door Installation Steps From Layout to Final Test
- Preassembled vs Unassembled Doors: Where the Labor Savings Show Up
- Crew Size, Site Conditions, and Other Factors That Stretch Installation Duration
- Your Roll Up Door Installation Checklist Before Signing Off
- Order Your Preassembled Roll Up Door and Plan the Install
- Frequently Asked Questions
How Long Preassembled Roll Up Door Installation Time Really Takes
Most buyers expect a single number. The honest answer is that preassembled roll up door installation time depends on your crew, your opening, and your site.
At Roll Up Doors Direct, our preassembled designs exist for exactly that reason: fewer steps on site, less labor billed, and a faster close-up on the building.
That said, no honest supplier can promise a fixed clock. As Cornell Iron Works' installation guidance notes, installation varies by door size, design, and building layout, and installers often make on-site adjustments.
Below, we break down where the time actually goes, stage by stage, so you can schedule your crew and your concrete work with real numbers in mind.
What Preassembled Actually Means on Delivery Day
A preassembled roll up door arrives with its brackets and tensioner already installed on the unit. That means your crew lifts the door as a complete assembly rather than building it piece by piece in the opening.
What you still have to do on site:
- Set and anchor the guides
- Lift the barrel and curtain into place
- Connect the tensioner and check spring tension
What you skip: assembling the barrel, mounting brackets to the barrel, and setting initial tension from scratch. That is the labor savings in plain terms.
Time Breakdown by Installation Stage
Here is how a typical preassembled install splits up. Treat these as planning ranges, not guarantees.
| Stage | Typical Crew Time | Notes |
|---|---|---|
| Site prep and layout | 1-2 hours | Clear the opening, mark lines |
| Guide and track setting | 2-3 hours | Alignment matters most here |
| Barrel and curtain lift | 1-2 hours | Two people minimum |
| Tension and adjustment | 1-2 hours | Spring tension and travel limits |
| Testing and sign-off | 30-60 minutes | Cycle the door, check safety |
A single door on a clean opening is a half-day job for two experienced installers. A bank of doors on the same site moves faster per door once the crew finds its rhythm.
Roll Up Door Installation Tools and Equipment to Stage First
The fastest way to lose a day is a missing tool.
Roll up door installation tools you should have on hand:
- Cordless impact driver and drill with fresh batteries
- Magnetic levels, 2-foot and 4-foot
- Tape measure and chalk line
For motorized operation, add a multimeter and the wiring diagram for your door opener. For manual operation, a chain hoist and a hand crank are enough.
Watch out: crews that skip the rated lifting equipment and try to muscle a barrel into place risk both injury and a bent curtain.
Roll Up Door Opening Requirements to Check Before the Truck Arrives
Measure twice before you order, because a door that does not fit the opening is a return, not an install.
Check these before delivery day:
- Opening width and height: measure at three points each and use the smallest figure
- Headroom: confirm clearance above the opening for the barrel and brackets
- Side room: verify space on both sides for the guides
A common mistake is measuring only the center of the opening. Walls are rarely perfectly square, and a door sized to the widest point will not seat cleanly.
If you are coordinating delivery across multiple job sites, review delivery costs and pickup locations so the door lands where your crew actually is.
Roll Up Door Installation Steps From Layout to Final Test
Roll up door installation steps follow a fixed order: set the guides, lift the barrel and curtain, then tension and test. Skip a step and the door will bind, drift, or fail its first cycle.
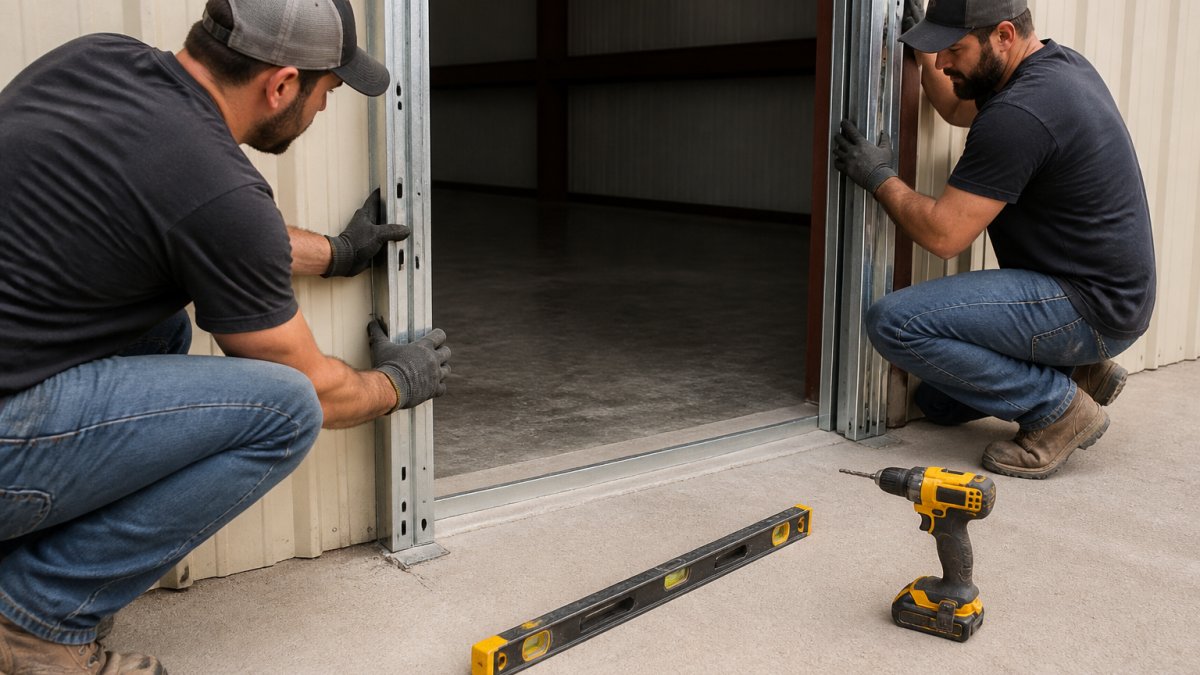
Step 1: Set the Guides and Verify Alignment
Mark your lines from the opening measurements, then anchor the guides plumb and square. Check alignment with a level on both faces and confirm the gap between guides matches the curtain width.
This is the step that decides whether everything after it goes smoothly. A guide that is out of plumb by a fraction will make the curtain rub for the life of the door.
Step 2: Lift the Barrel, Curtain, and Brackets
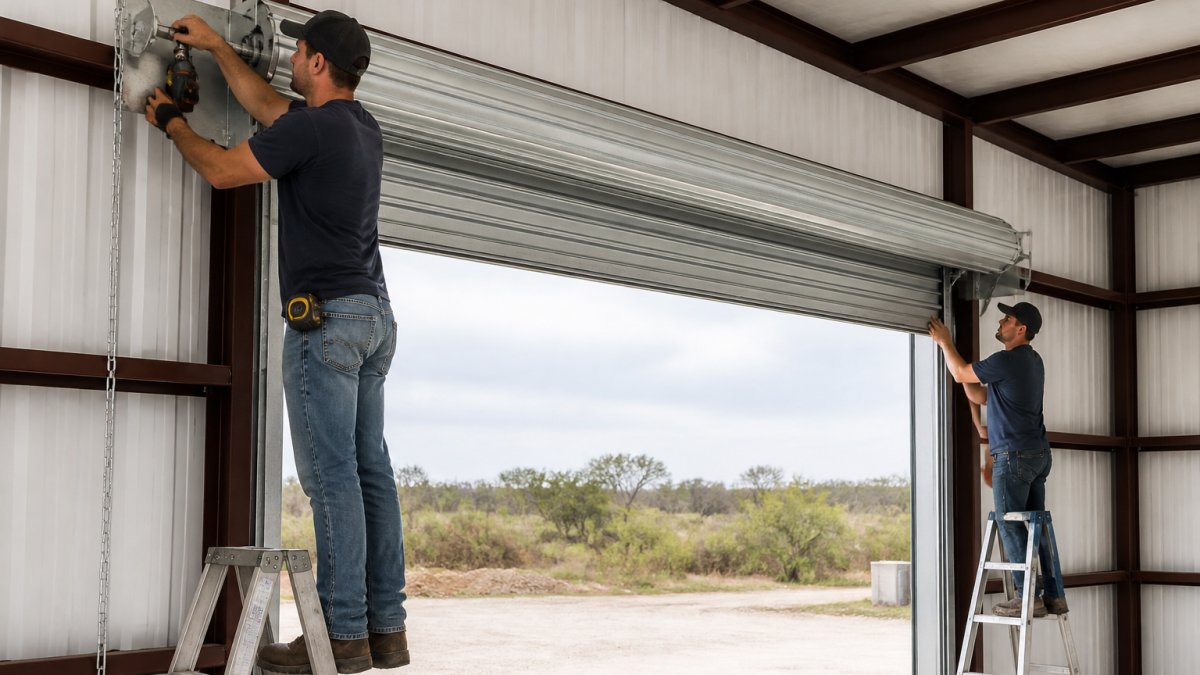
With the guides set, lift the preassembled barrel and curtain as one unit into the brackets. Use a chain hoist or lifting equipment rated for the load, and keep two people on the lift.
Seat the brackets, check that the barrel sits level, and confirm the curtain feeds cleanly into both guides before you let go.
Step 3: Tension, Adjust, and Test Operation
Set spring tension per the door's instructions, then adjust travel limits so the curtain stops at the right points. Cycle the door several times by hand before you connect the opener.
For motorized operation, wire the opener, pair the remote and keypad, and program the limits. Then run a full open-and-close cycle and check the safety reverse.
Preassembled vs Unassembled Doors: Where the Labor Savings Show Up
The difference between preassembled and unassembled is where the work happens, not whether it happens.
Preassembled shifts that work to the factory. Your installers spend their hours on alignment, lifting, and tuning, which is the part that actually needs skill.
If you want to see what a preassembled unit looks like in spec form, the Model 2500 shows the bracket and guide setup. For projects with code-driven wind requirements, the Model 3100 wind load rated door is the model to compare against your engineering drawings.
Best for: crews installing multiple doors on tight schedules. Skip if: you have a fabrication shop and prefer to assemble on site.
Crew Size, Site Conditions, and Other Factors That Stretch Installation Duration
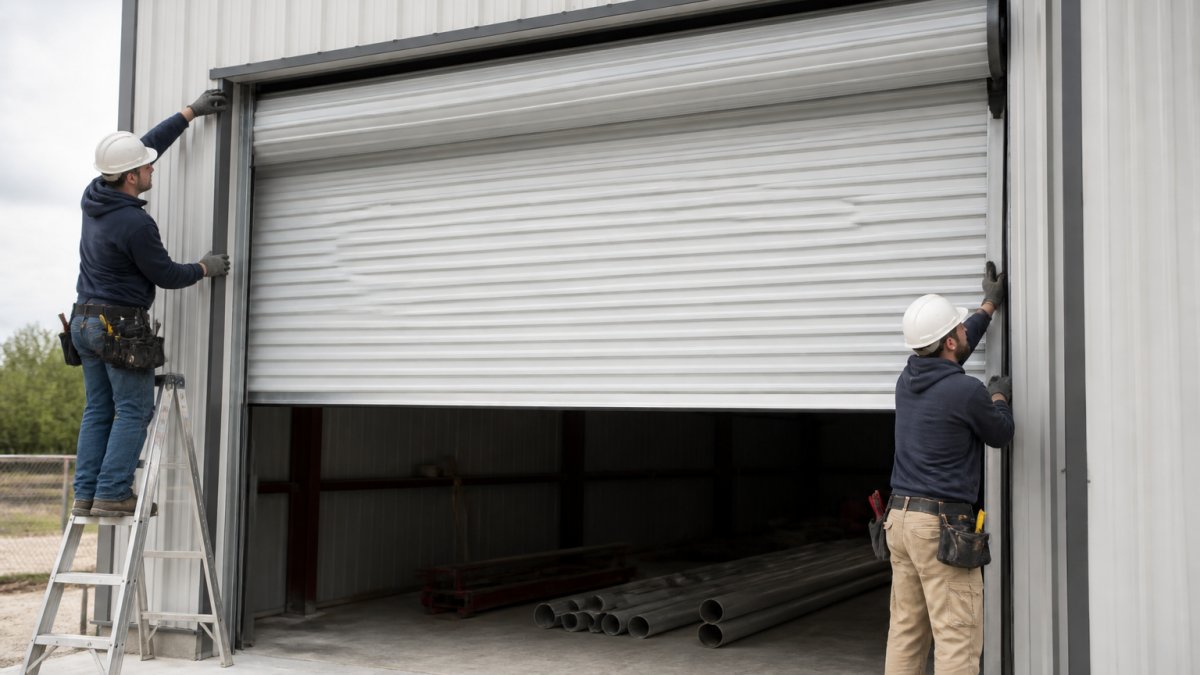
Two experienced installers are the practical minimum for a single door. One person can prep and stage, but the barrel lift needs a second set of hands, and the guide alignment goes faster with one person holding and one fastening.
How Crew Size Changes the Clock
Crew size does not scale linearly. Adding a third person to a single-door install helps during the lift and the guide setting, but the work is sequential enough that a third installer often stands idle during tension and adjustment. A common pattern:
- One installer: not recommended for a preassembled door. The barrel lift is the blocker, and working alone stretches the job well past a full day while raising injury risk.
- Two experienced installers: the baseline. A single door on a clean opening is a half-day job.
- Three installers: shaves time on the lift and guide stages but not proportionally. Best used on multi-door jobs where the third person can start prepping the next opening.
Trained Installers Versus First-Time DIY
A crew that has set guides before moves through alignment and tension quickly because they recognize a binding curtain or a drifting limit before it becomes a callback. A first-time installer should expect to spend noticeably longer, often double the on-site time, because measuring, re-measuring, and correcting alignment is where inexperience costs hours. The work is not complicated, but it is unforgiving of a guide that is out of plumb by a fraction.
Preassembled Versus Unassembled: Where the Time Goes
The difference between preassembled and unassembled is where the work happens, not whether it happens. An unassembled door pushes barrel assembly, bracket mounting, and setting initial tension from scratch onto your crew, on site, at crew rates.
In practical terms, the assembly steps a preassembled unit removes are the ones that are hardest to do well in the field: mounting brackets squarely to the barrel and setting initial spring tension without a controlled environment.
Site Conditions and Delay Factors
- Opening readiness: an opening that is not framed, not square, or not clear of debris adds shimming and anchoring time. Confirm readiness before the crew mobilizes.
- Out-of-square framing: walls are rarely perfectly square. A door sized to the widest measurement will not seat cleanly, and correcting it on site costs hours.
- Site access: a tight alley or a gravel lot slows every lift and every trip for tools. Factor access into the delivery plan, not just the install plan.
Plan the schedule around the lift, not the paperwork. The barrel lift is the step most affected by weather, crew size, and equipment, and it is the step that decides whether the day finishes on time.
Your Roll Up Door Installation Checklist Before Signing Off
Use this roll up door installation checklist to close out the job cleanly. A door that opens is not the same as a door that is installed correctly.
- Guides plumb and square on both faces
- Barrel level and brackets fully seated
- Curtain feeds into both guides without rubbing
Walk the checklist with the person who will operate the door. It takes ten minutes and prevents most callbacks.
Order Your Preassembled Roll Up Door and Plan the Install
The install schedule starts with the order, not the crew. Get the door size and model right, and the on-site work gets shorter.
Roll Up Doors Direct builds preassembled doors for commercial and residential use, with certified wind load rated options for projects that need them. When your measurements are confirmed and your crew is booked, review your cart and place the order to lock in delivery timing.
Frequently Asked Questions
Can one person install a preassembled roll up door?
A single installer can handle a small single door, but lifting the barrel and curtain safely usually needs two people. Preassembled units ship with brackets and a tensioner already fitted, which cuts assembly work, yet the barrel still has weight and awkward reach. For anything larger than a standard single door, plan on a two-person crew at minimum. Cornell notes installers may make on-site adjustments based on door size, design, and building layout, so an extra set of hands helps with alignment too.
What can delay a roll up door installation?
Out-of-square openings, missing fasteners, and unclear wiring for a motorized opener are the usual culprits. Site conditions matter as well: uneven floors, blocked access for the delivery truck, and frame surfaces that need shimming before guides can be mounted. Wind-rated doors may need specific anchor spacing verified against the certified wind load rating before drilling. Line up tools, hardware, and power access before the crew starts, and most delays disappear.
How do you test a roll up door after installation?
Run the door through several full open and close cycles by hand first. Check that the curtain travels smoothly in the guides, the barrel turns without binding, and the door sits level at the floor. If a motorized opener is fitted, program the remote and keypad, set the travel limits, and confirm the safety reverse works. Tighten any fasteners that loosened during cycling. A preassembled roll up door should operate with light, even effort once tension is set correctly.
What tools are needed to install a roll up door?
A drill with hex and driver bits, a socket set, a 4-foot level, a tape measure, a ladder, and a chain hoist or lifting equipment for the barrel cover most jobs. Add safety glasses, gloves, and a pry bar for shimming. For motorized operation, you will need wire strippers and a voltage tester. Check the roll up door installation checklist for your specific model, since wind-rated doors can call for specific anchors and torque values.
The real challenge is not the install itself. It is ordering the right door the first time, with the right size, the right wind rating, and the right preassembly so your crew is not rebuilding a barrel in the opening. Roll Up Doors Direct handles that part: preassembled designs for quick installation, certified wind load rated models, and a low price guarantee that keeps the project on budget. Get started with Roll Up Doors Direct and put a door on the building faster.